I just wrapped up my 6-week fellowship at the Center for Furniture Craftsmanship (CFC) in Rockport, Maine, and am now headed west for a month of studying and teaching in Minnesota (you can check out my classes here).
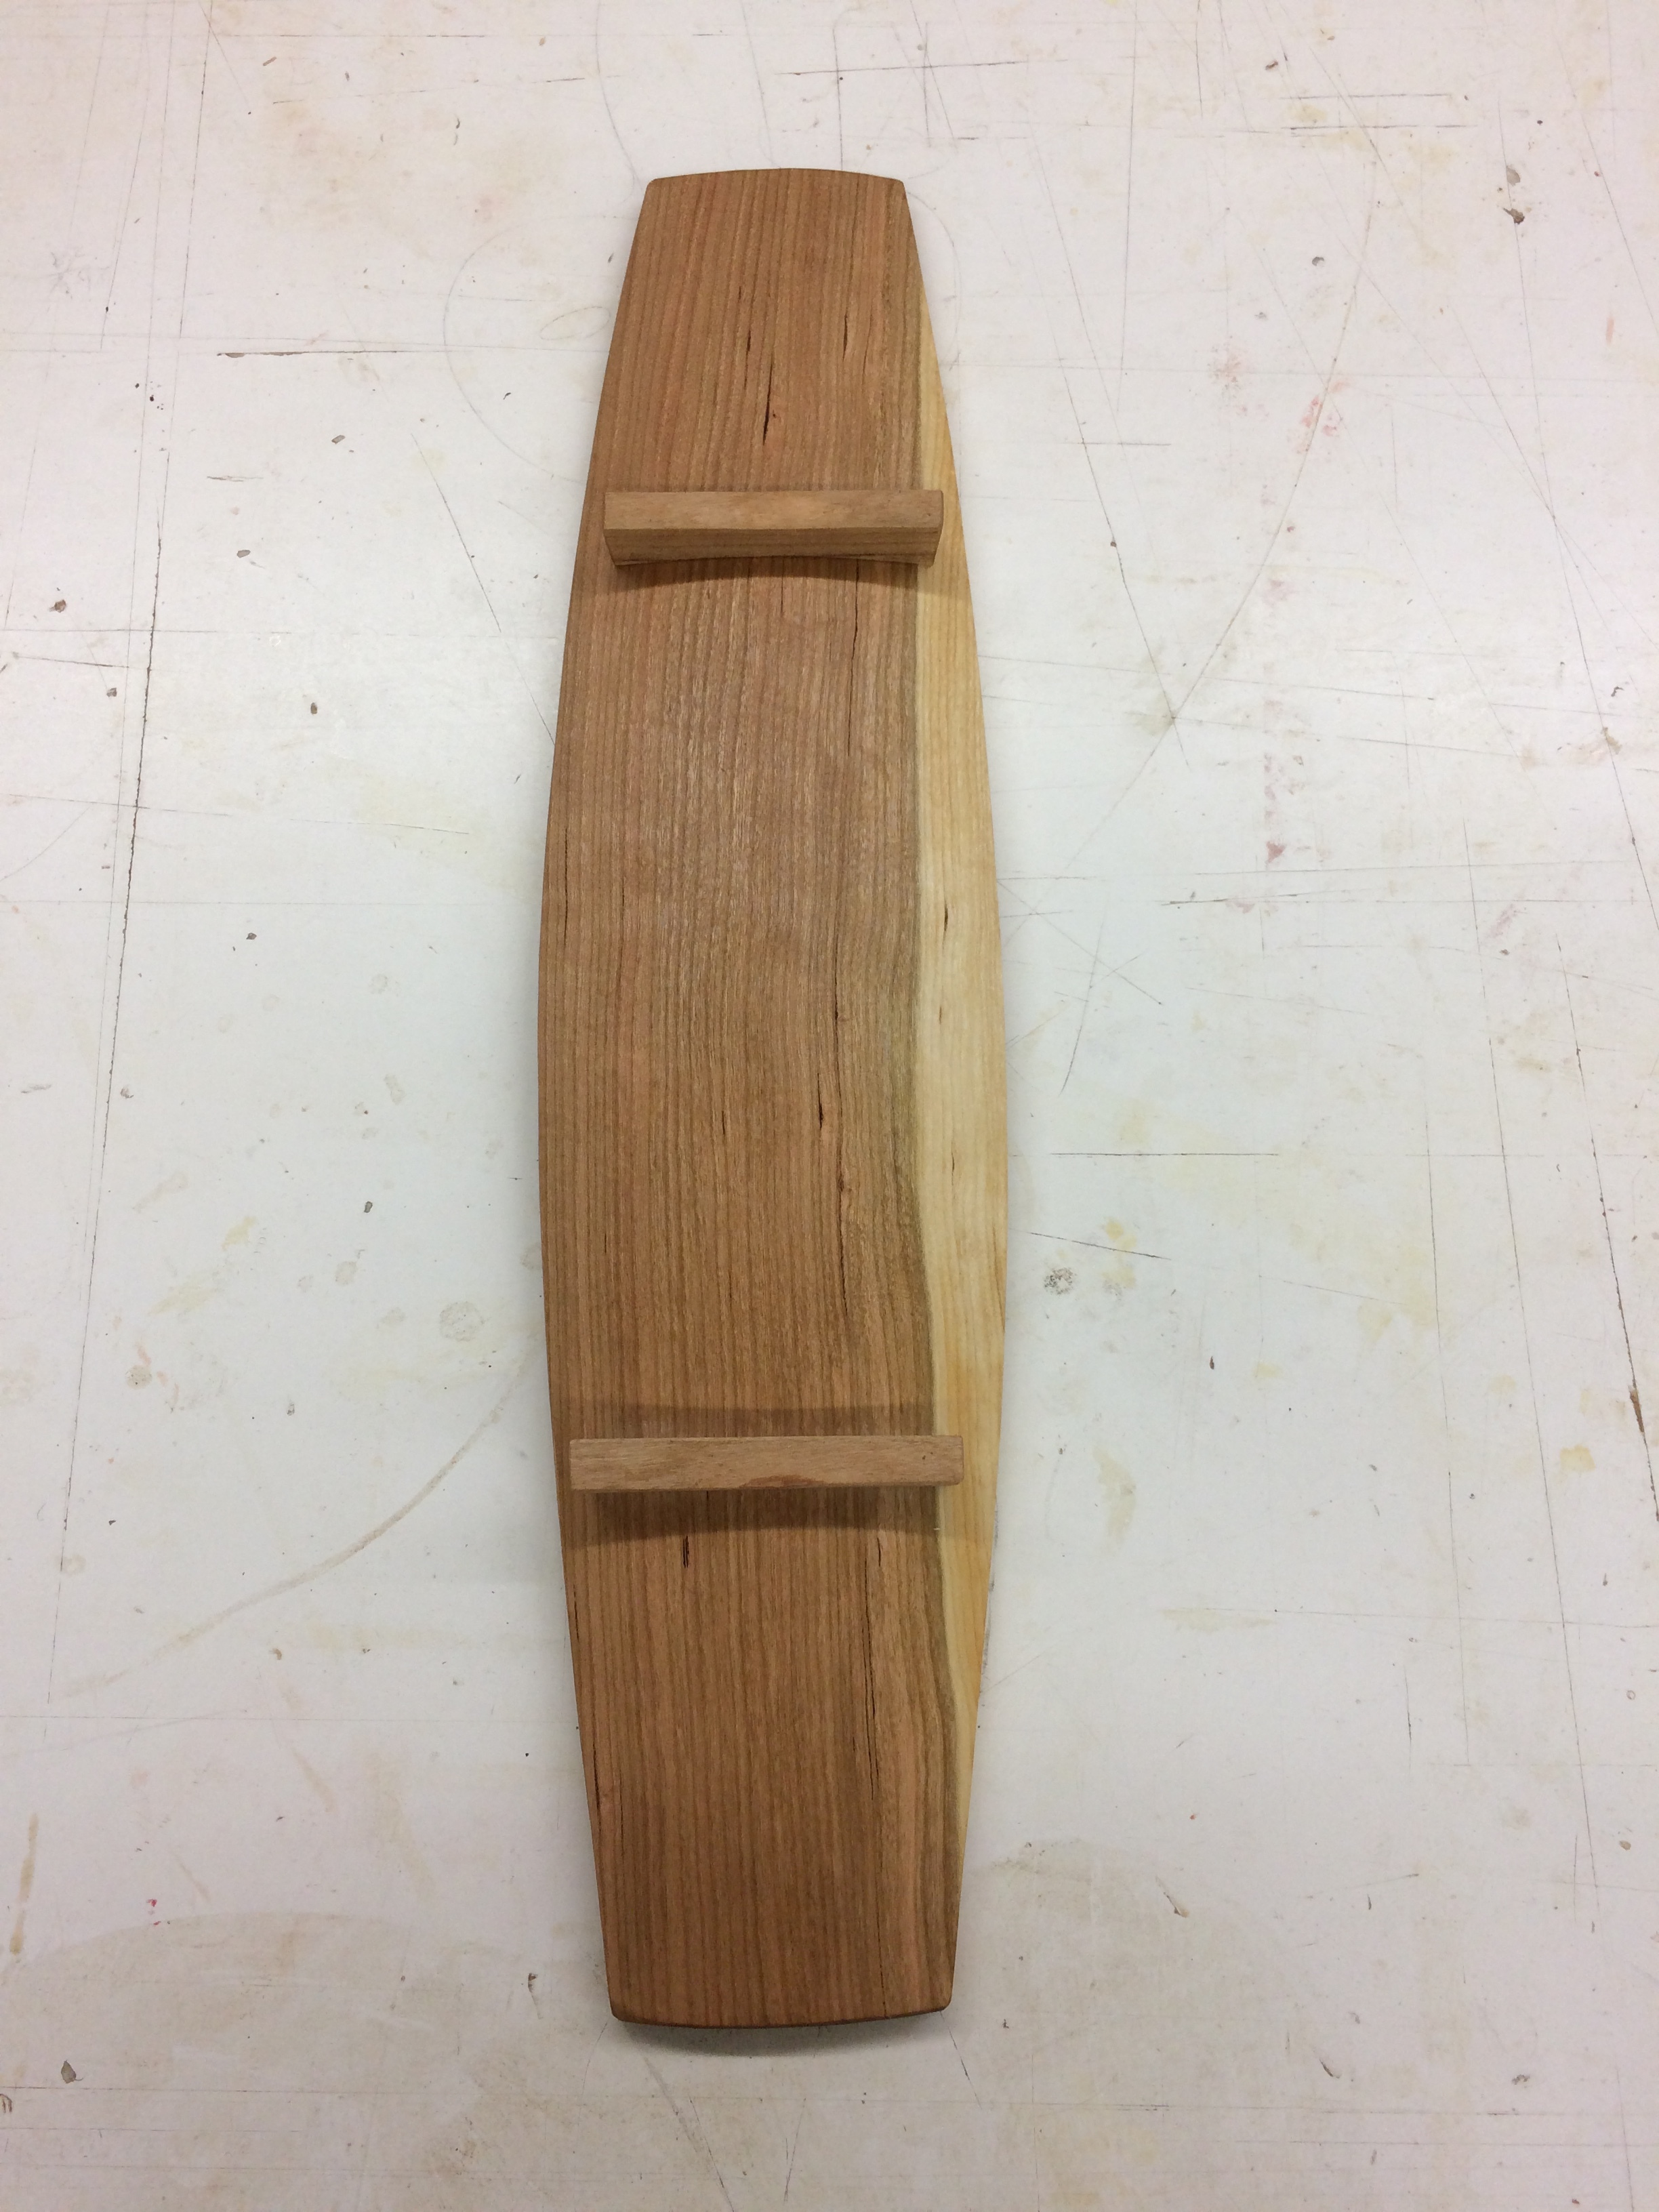
I went to CFC with hopes of using new material (ie not 8” diameter birch, am I right?!), and luckily was able to get a hold of a large diameter cherry log. As I mentioned earlier, I turned a series of plate sets on the lathe, but I also did a handful of hand-carved serving platters.
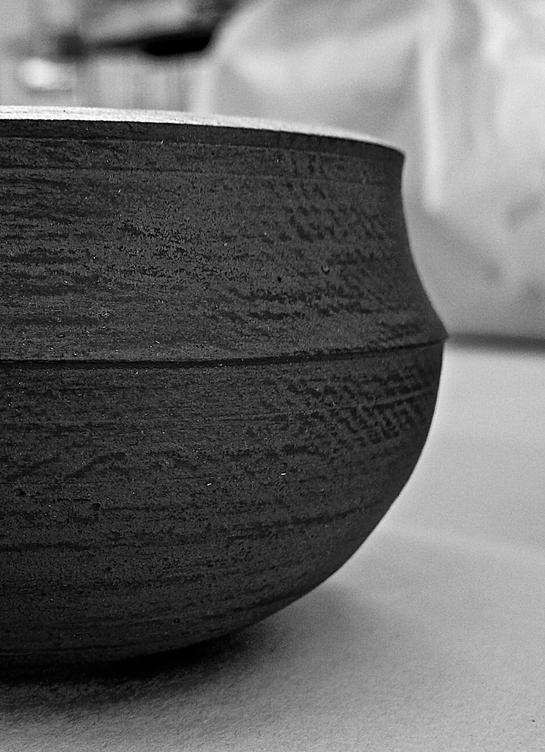
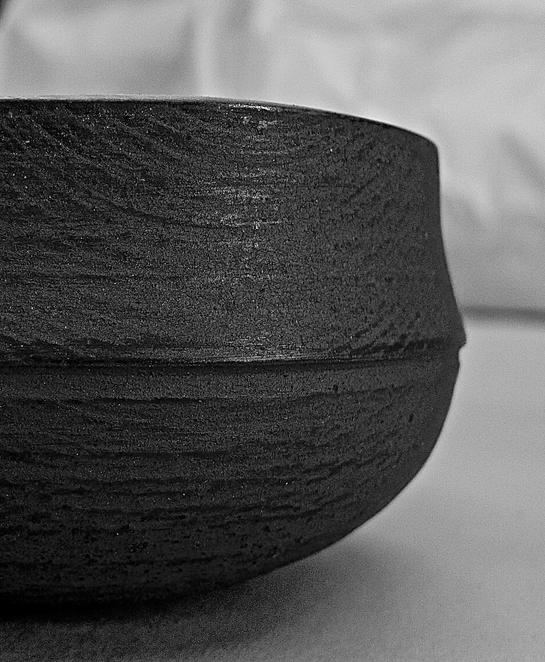
Prior to this fellowship in Maine, I had only carved dough bowls, or half-log bowls, so I wanted to carve new forms and make something that people might be more accustomed to using in their home.
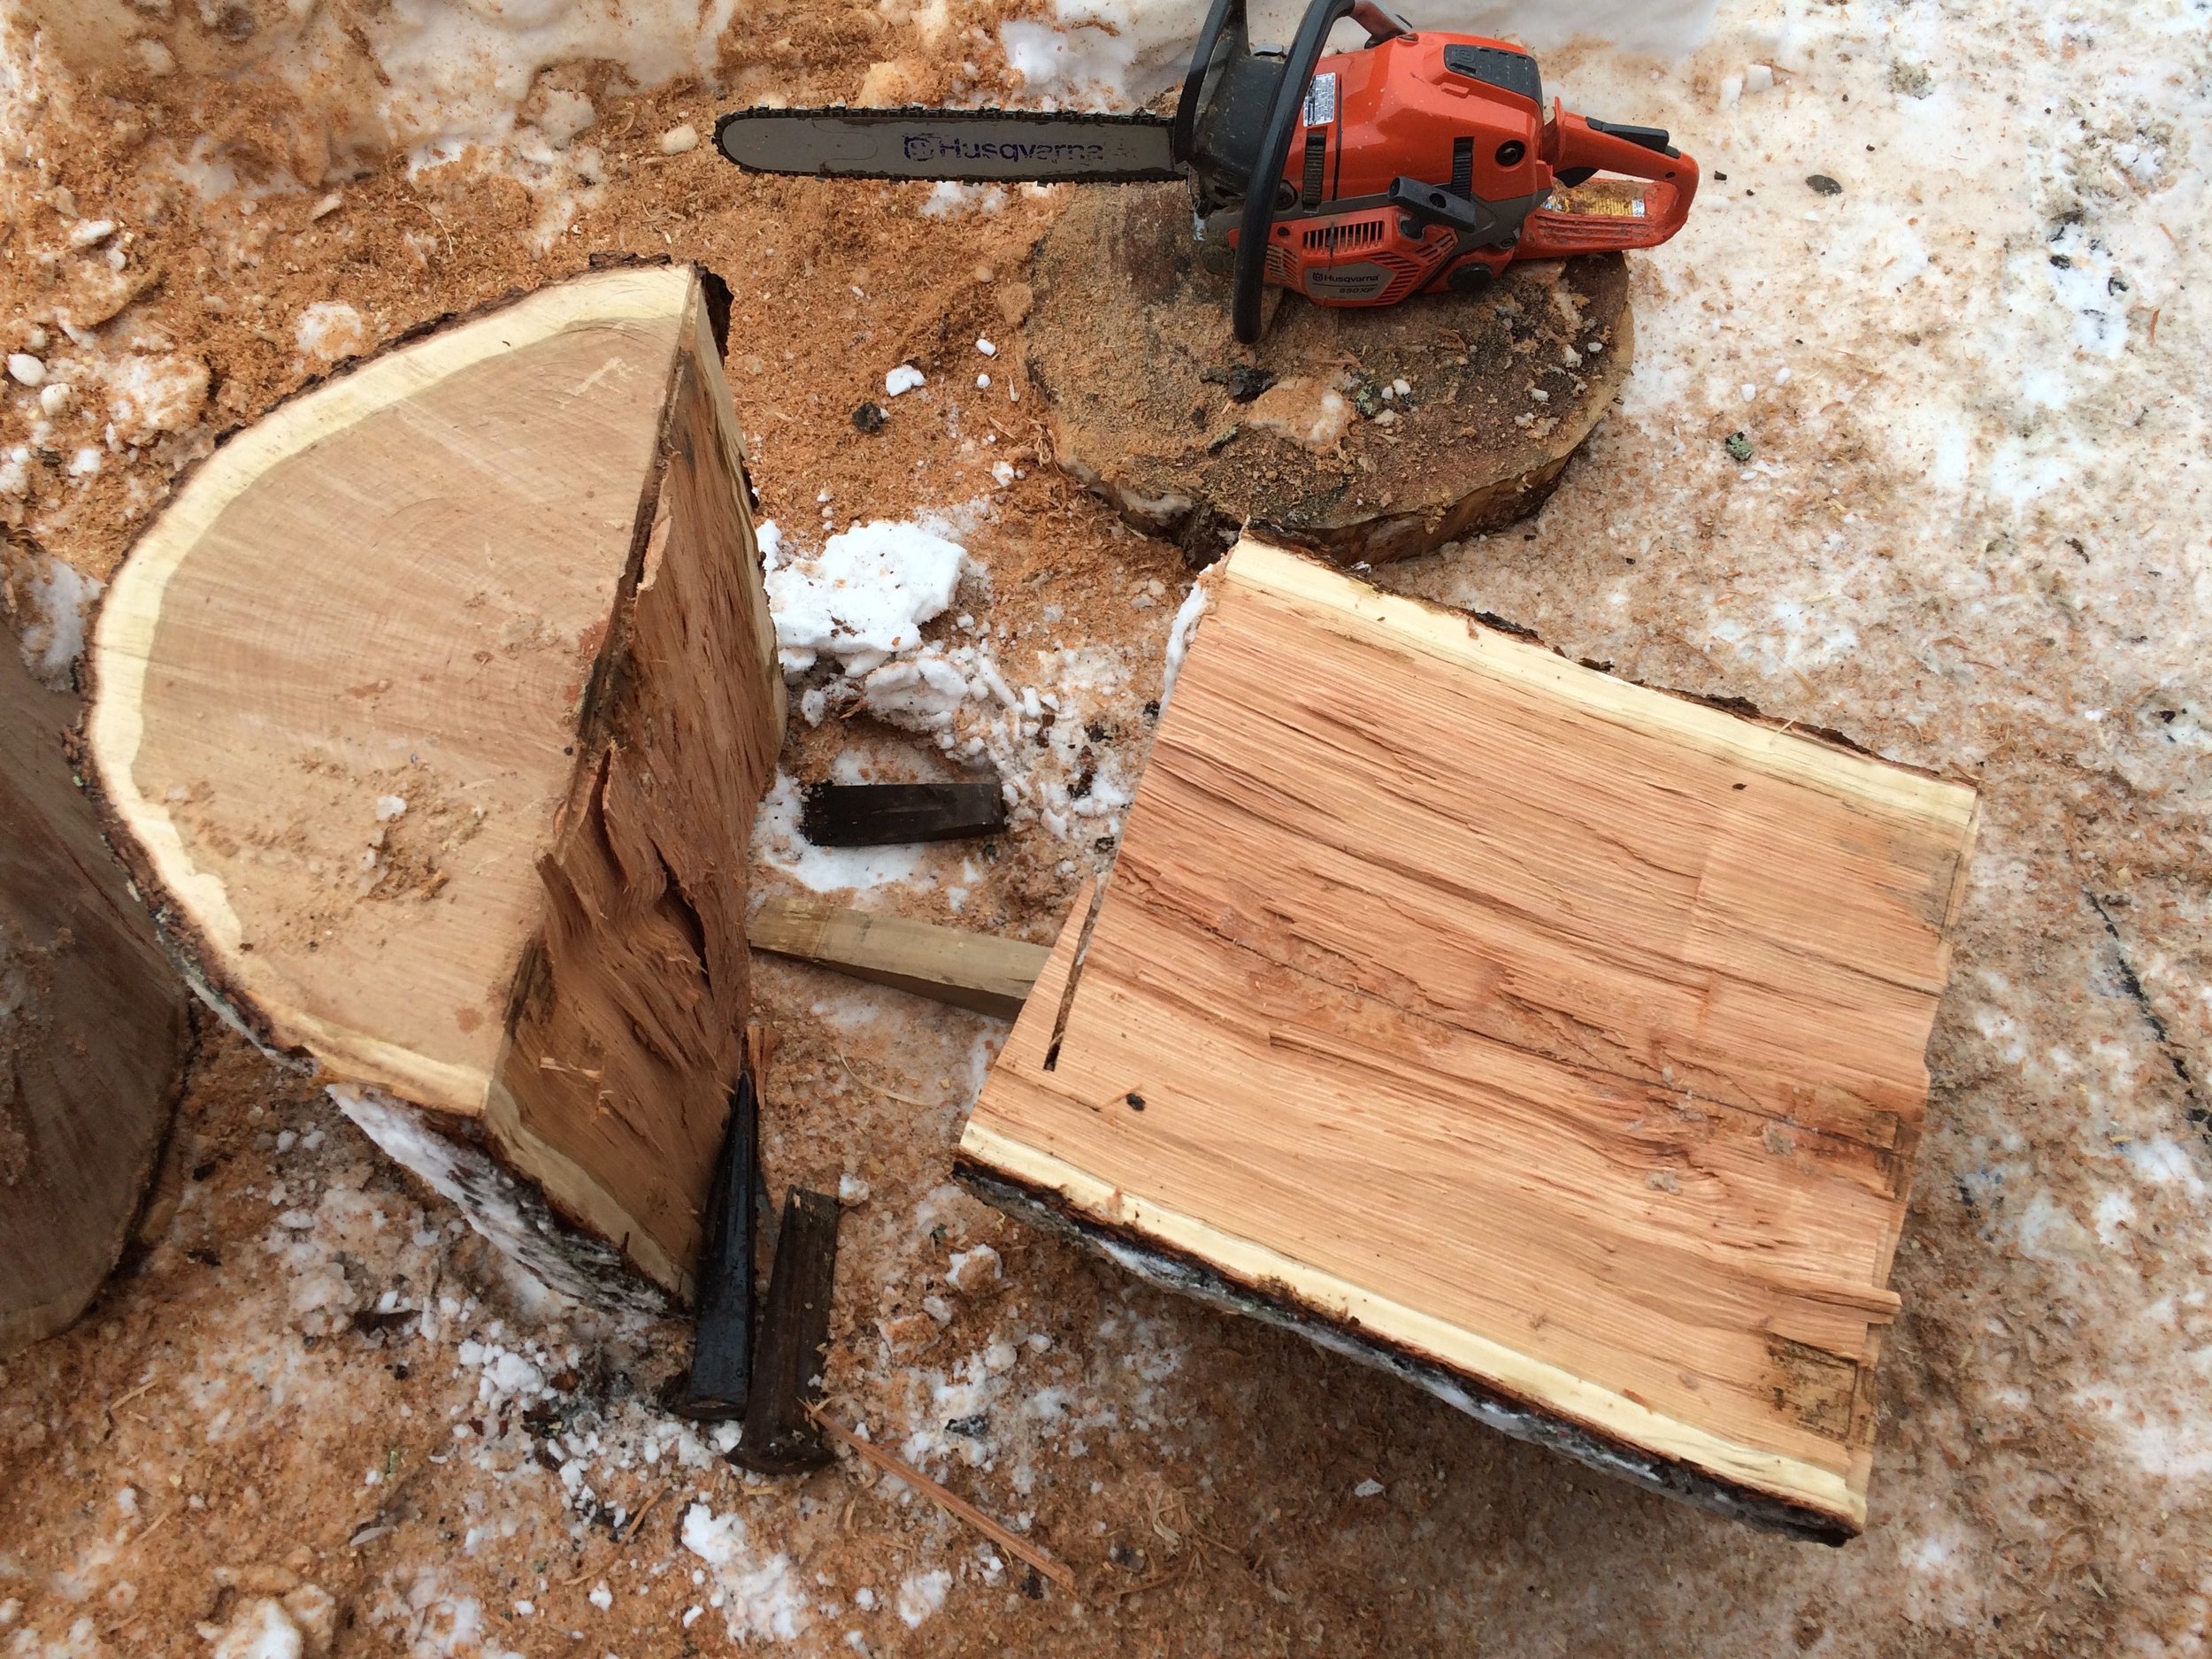
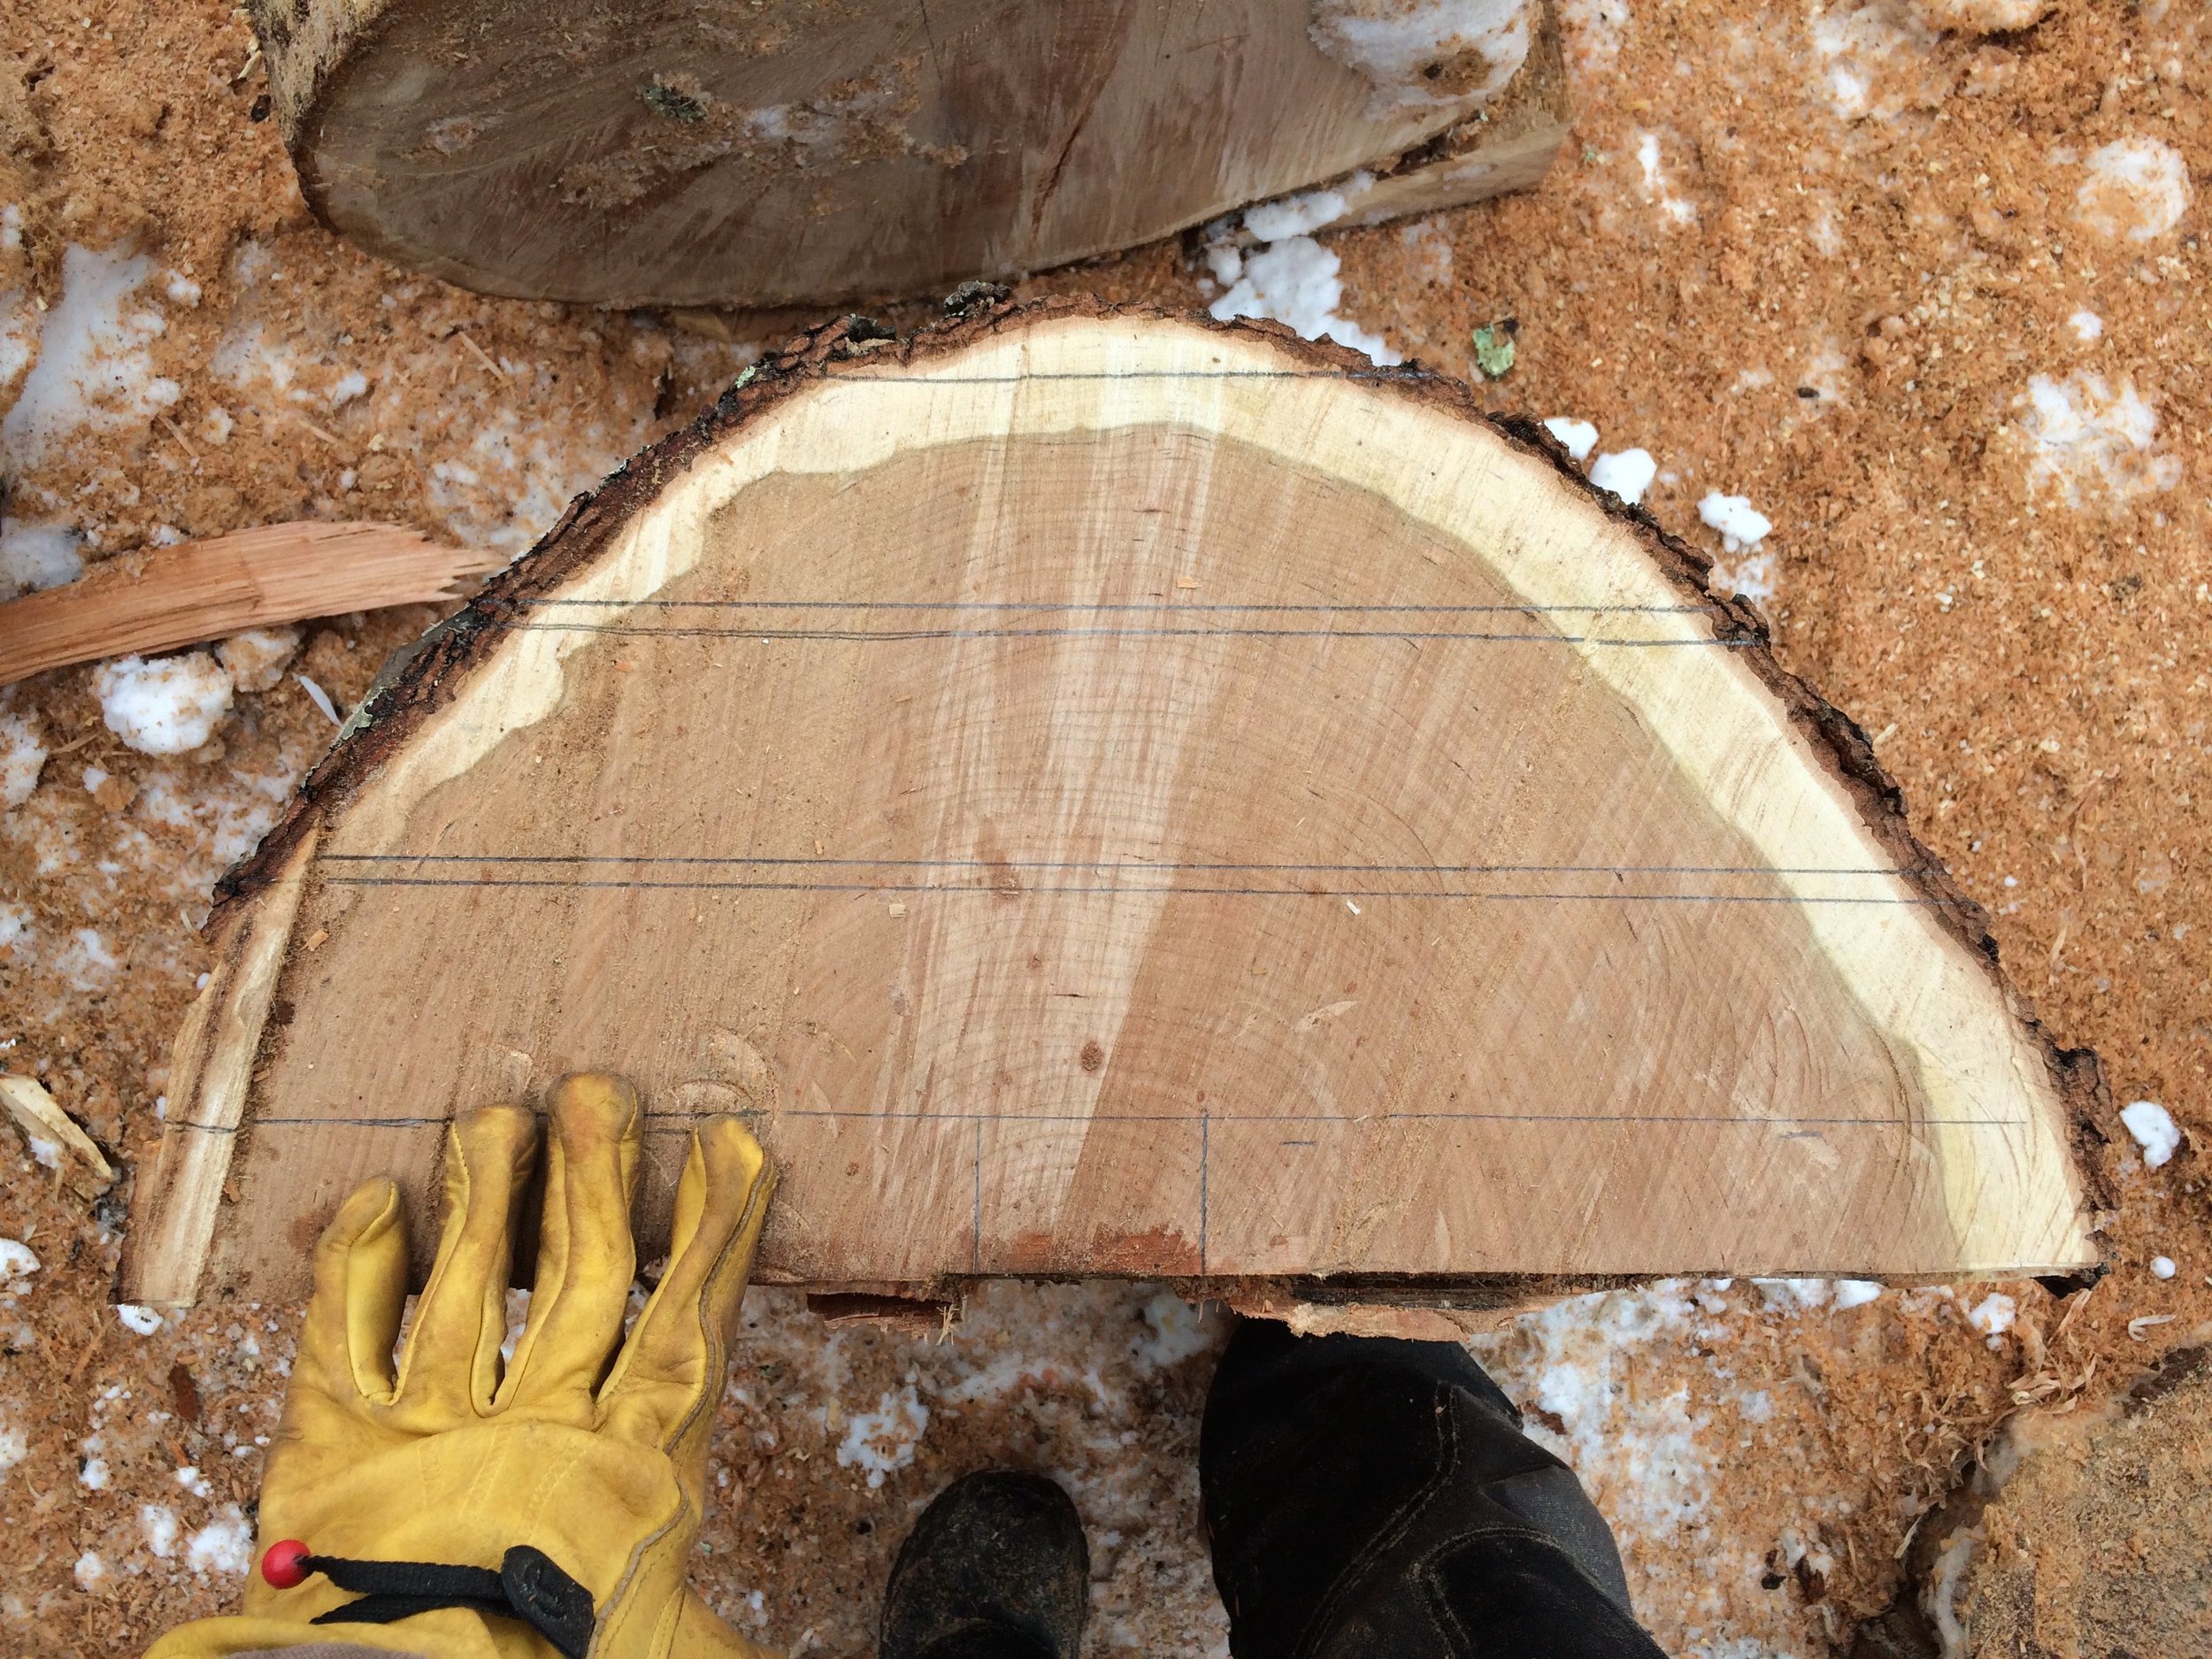
While carving the platters with an axe and adze was a familiar process, roughing out the long and wide blanks presented more of a challenge. First I split the log with wedges and a sledge hammer (and lots of sighing). Then I layout my lines on each end of the log and ripped it with a chainsaw. Given that the teeth were for cross-cutting and I hadn’t done this before, it wasn’t the smoothest operation. I did my best to have positive “platitude” (def: one’s attitude about platters) and see the butchered boards of wood as a testament to how much I was learning - not just as wasted material and time. Fortunately a good friend noticed this and is sending me a chain for ripping in the future! It was the first time I really wished I had access to a sawmill.
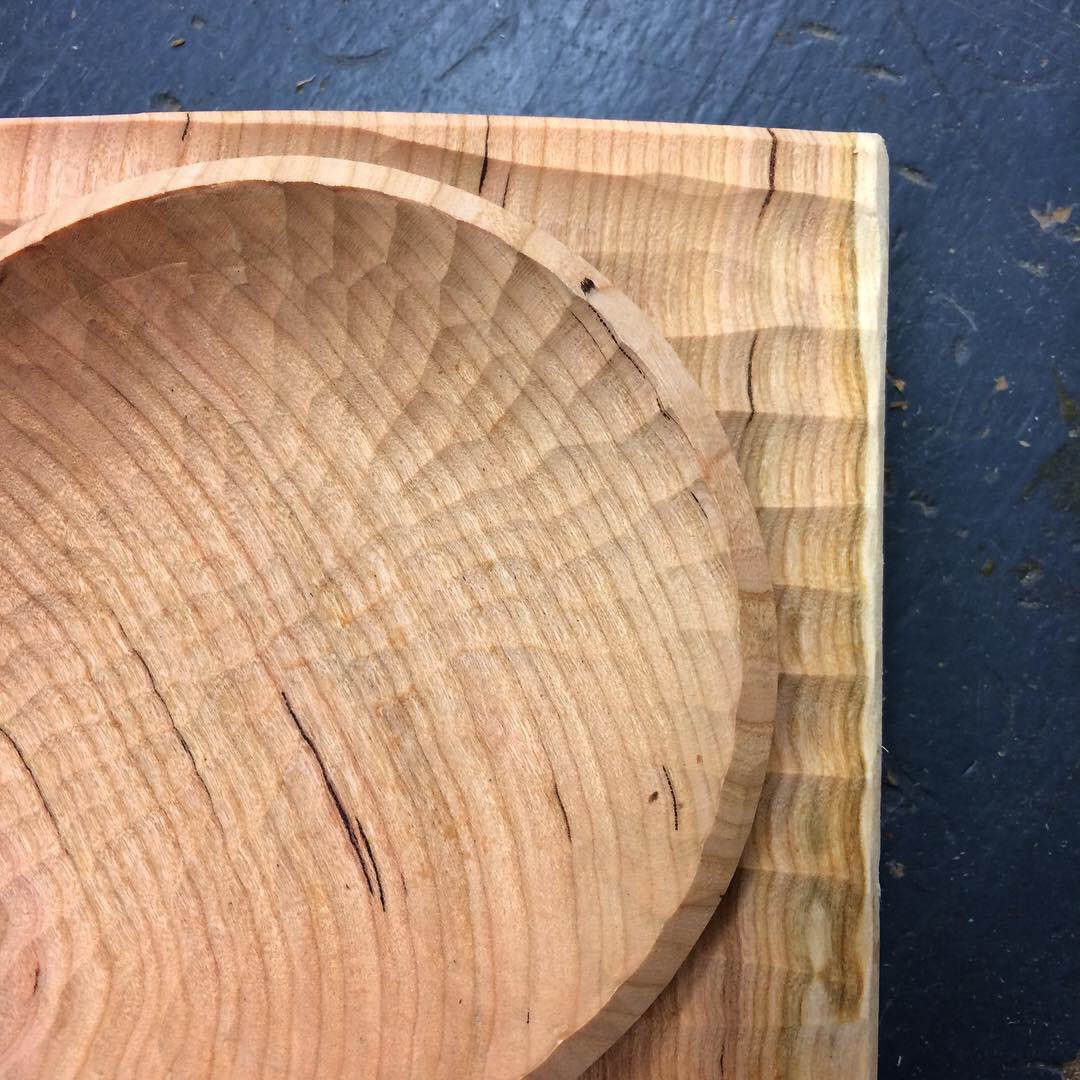
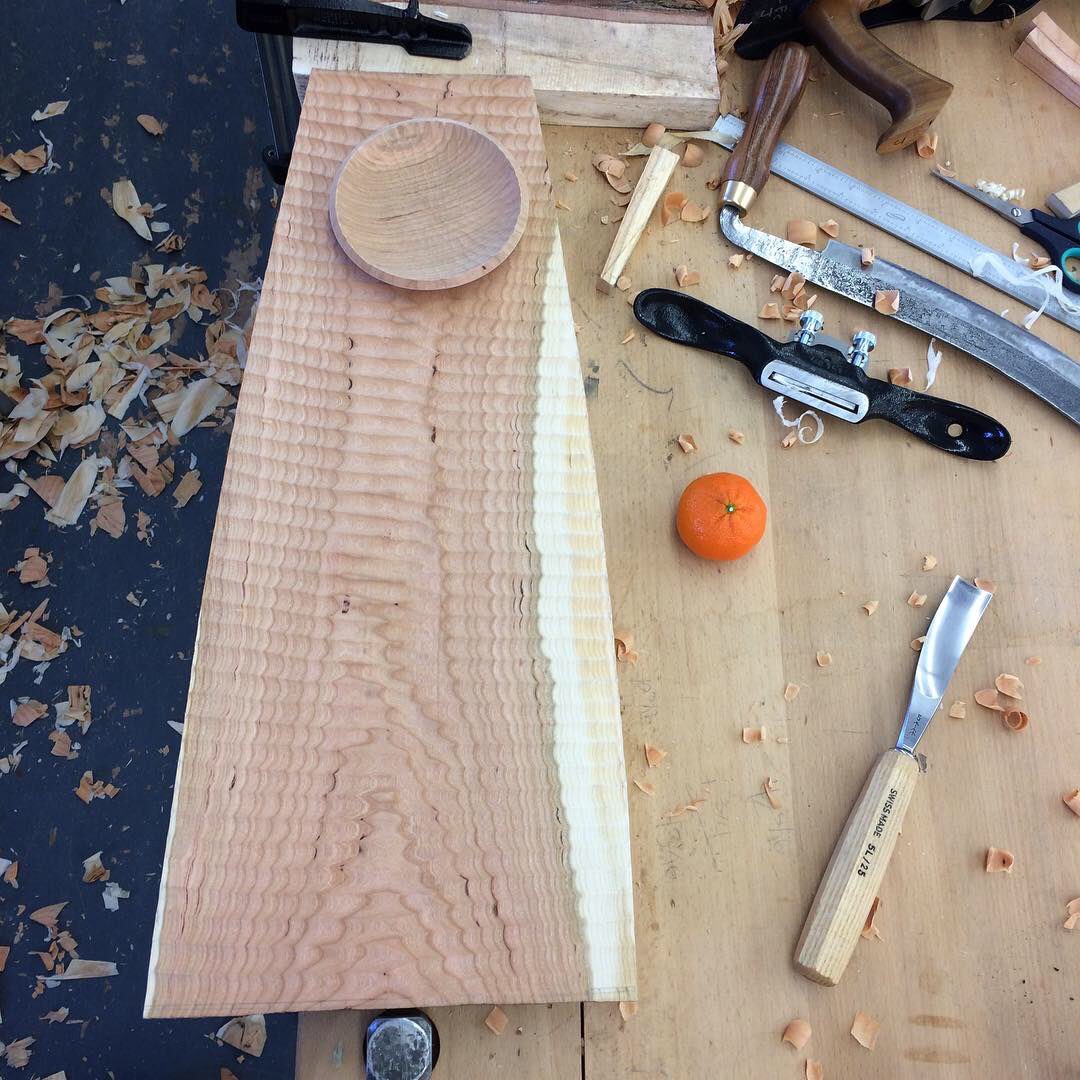
Here are some process images:
Below are platters both in progress and completed. Cherrywood is a joy to carve, especially while it’s still green (which means that’s still contains a lot of moisture).


I really enjoyed exploring making plates in production and taking the slower route of hand-carving platters. Throughout the fellowship I was able to receive feedback on all of my designs from the fabulous other fellows and instructors on campus. It was a fruitful experience and an affirmation that creating things in community can really enrich the product and personal experience.

Here is almost everything I made from one generous cherry log: a cutting board, spatula, four platters, and 50+ plates. I still have additional blanks waiting to take shape.
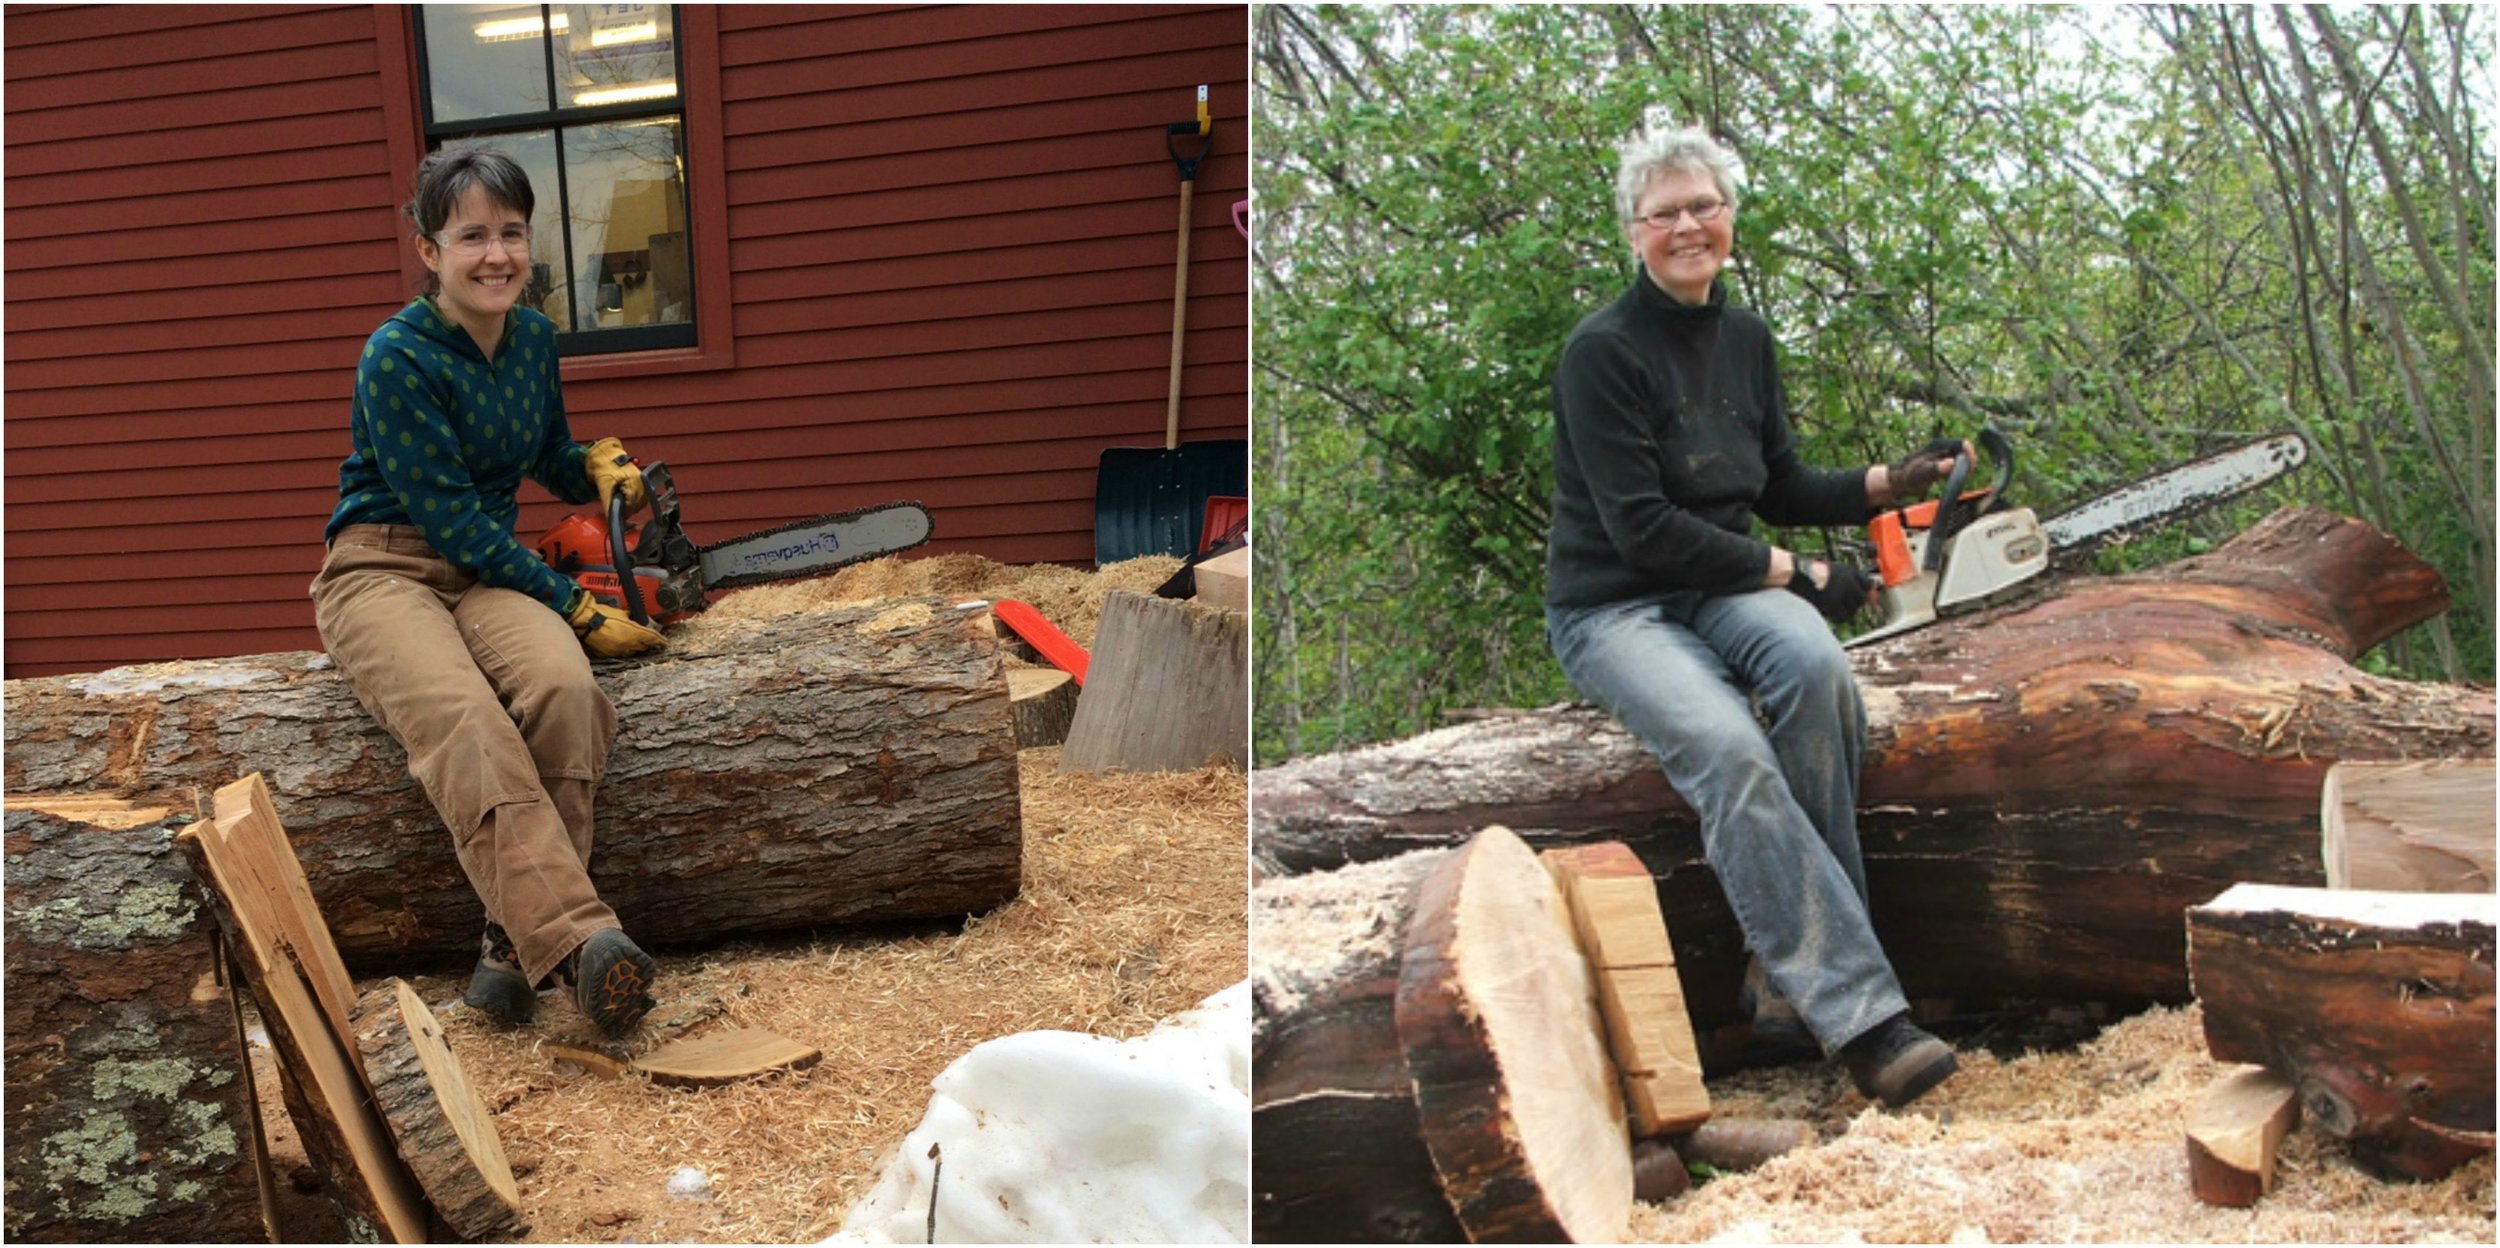
Last but not least: Thank you this cherry log and thank you to my mentors! Last year I saw the photo on the right of artist Helga Winter and told a friend - “I want to be like her when I grow up!” Joyful and wielding a chainsaw. My friend replied “I think you are well on your way.” Here is a fan photo I took before processing those logs! So grateful to have gotten to study with her and to have her as a possibility model.